What’s the Best Way to Create a Chalkboard Wall?

Make a space that's chalk-full of fun.
Chalkboard paint is all the rage right now and for good reason! It is a great way to add some personality to your home décor while also providing a functional purpose. This design element is perfect for a kids' room, an office, and especially the kitchen. Best of all, it's affordable and easy to use. In this blog post, we will teach you everything you need to know to confidently use chalkboard paint like a pro!
What You Need To Know Before You Begin

What Is Chalkboard Paint?
Chalkboard paint is a type of paint that can be applied to walls to create a scratch-resistant area that can be safely scribbled on with chalk. Although black paint is the most common, it can be any color you want and can be found at your favorite home improvement store. Its specially formulated texture makes a smooth writing surface that holds up to frequent chalk portraits, laundry lists, and reminders, then easily wipe clean when you're done.
.
Use the Right Surface
You'll need to pick a smooth surface that has been properly prepared for the best outcome. Drywall, wood, metal or concrete all work great.
Textured walls will make the finished product lumpy and difficult to write on. Avoid wallpaper, plastic, brick, and unsealed wood.
.
Picking the Right Chalkboard Paint
The best chalkboard paint is water-based latex that comes either premixed or in a powder mix-in.
IMPORTANT: Make sure you're getting "chalkboard paint" and not "chalk" or "chalk finish" paint, which are used for antiquing furniture.
.
Available Colors
The most common colors are black or green, but white is also available and can be tinted to any color you wish!
Chalkboard Wall Tutorial

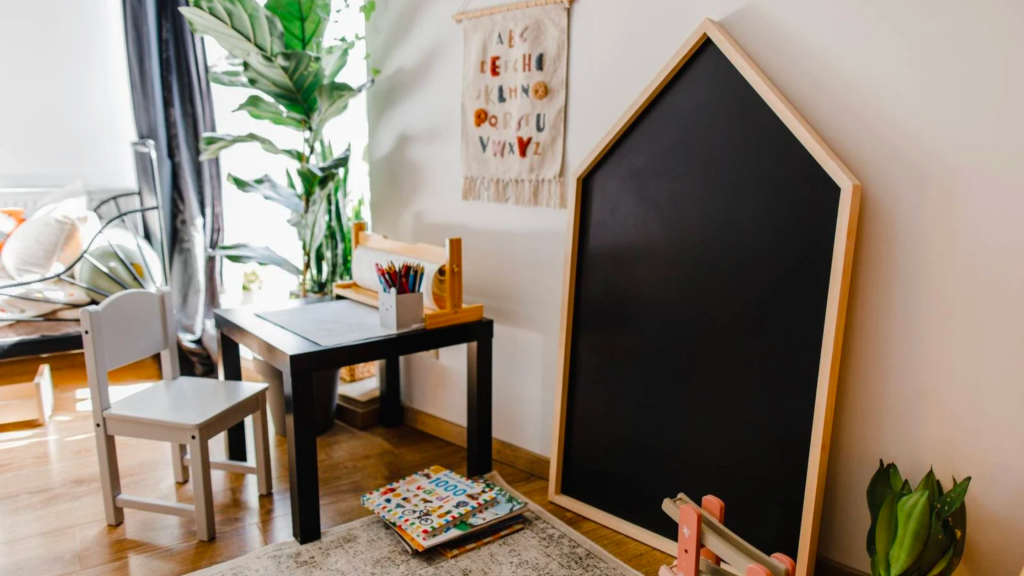
(Image credit - HoneyDreamersLV Etsy)
1) Patch Things Up
Fill in holes and fix any imperfections before getting started.
Sand down the area with fine-grit sandpaper until it's dull to the touch. This will help the paint adhere better. Wipe away any dust with a damp cloth.
2) Start With a Clean Slate
Start by cleaning the wall with Krud Kutter to remove any grease or grime.
3) Think Inside the Box
Use painter's tape to outline the perimeter of the chalkboard and to protect trim or baseboards from drips. If you're painting only part of a wall, use a level to ensure your lines are straight.
4) Prime Time
Use one or two coats of a good-quality primer for the best results. Let dry completely.
5) Application
Stir the paint thoroughly and then pour a small amount into a tray. Use a 2" brush around the edges and then switch to a roller to cover the larger area in the middle.
You'll need at least two coats. Wait 72 hours for proper curing.
6) Conditioning (don't skip this!)
Although it's tempting to start doodling, conditioning your new chalkboard before its first use is important because this closes up its porous surface so it can be wiped clean in the future. Otherwise, a faint ghost image of whatever is first written on the chalkboard will always be there to haunt you.
Conditioning is super easy. Rub over the entire area using a piece of chalk on its side, covering everything in a layer of chalk dust. Use a dry cloth to wipe away the excess.
7) Chalk It Up
Your chalkboard wall is ready for action! Reward yourself for a job well-done by coloring to your heart's content.
Tips & Tricks

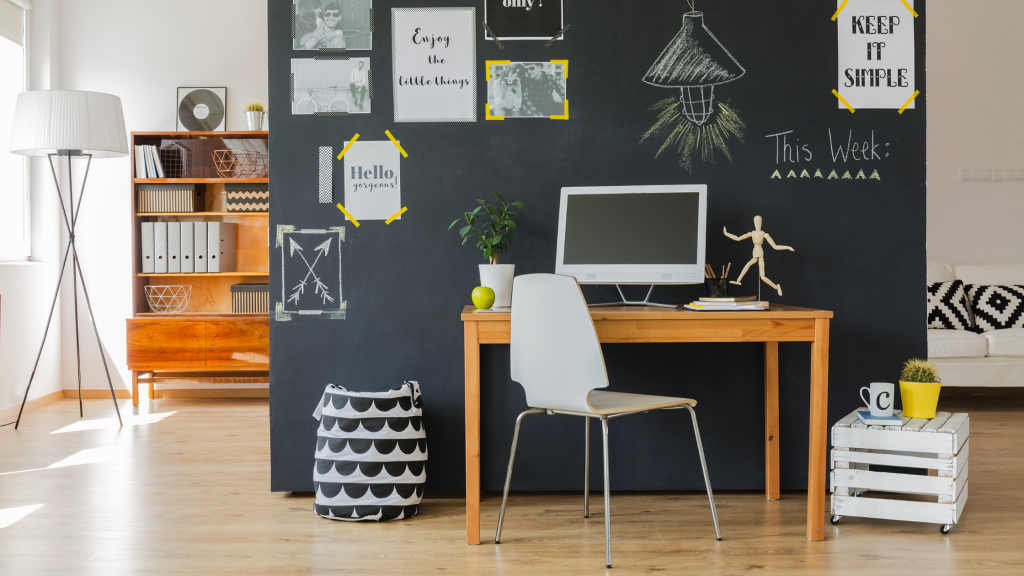
(Image credit - Photographee.eu—Shutterstock via Money)
- Keep things clean by using a damp cloth after every use. For tougher chalk stains, you can also use a Magic Eraser.
. - Before using liquid chalk markers or pens, check the label. These are meant to be used on non-porous surfaces like glass, so they might stain.
. - Make it magnetic! Before painting, use at least three coats of magnetic primer to transform a plain chalkboard wall into the ultimate memo board.
. - Not ready to commit? Use peel-and-stick chalkboard contact paper that's easy to remove if you change your mind.
Final Thoughts
If you’re feeling inspired and want to take on this DIY project yourself, we'd love to see photos! And if you're not up for it – no problem. We'd be happy to do it for you! Schedule an instant quote today and let our painting professionals handle everything while you sit back and relax.
