DIY Guide: How to Paint Kitchen Cabinets Like the Pros
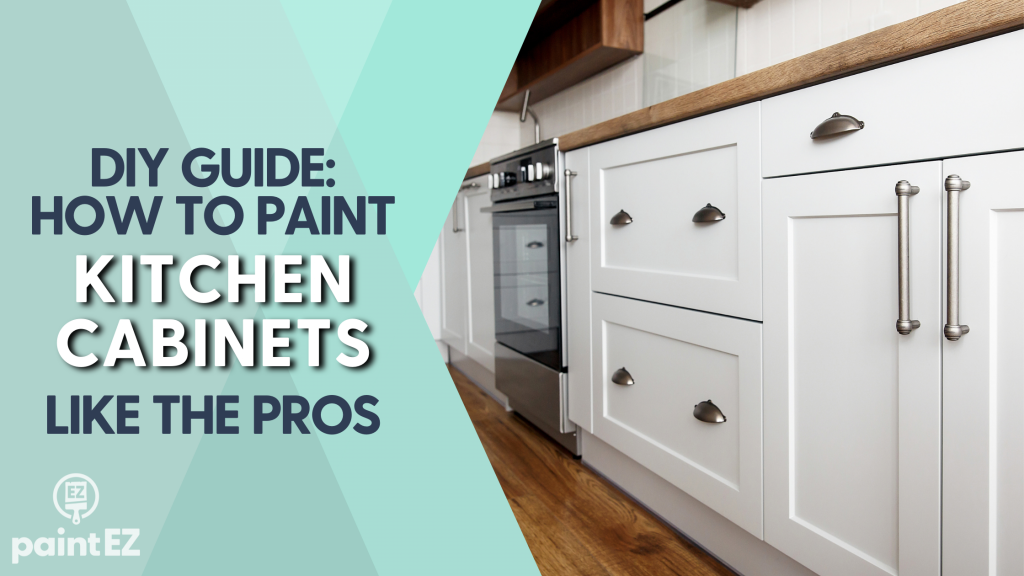
Time for a change? Here’s everything you need to know to paint your kitchen cabinets like the pros!
So, you've just moved into a new home and you're looking to give your kitchen a fresh look. Or, maybe your kitchen cabinets are starting to look dated and you want to give them a facelift. Either way, painting your kitchen cabinets can be a great way to update your kitchen without breaking the budget.
One of the most common challenges people have when painting kitchen cabinets is getting the paint to look even and without any streaks. This can be caused by a number of things, such as not using the right type of paint or primer, not properly preparing the surface before painting, or not using the right tools.
Many people put off painting their kitchen cabinets because they don't know how, and the thought of destroying their beautiful kitchen with a bad paint job scares them from even trying.
But painting kitchen cabinets doesn't have to be a daunting task. With a little patience and the right techniques, you can paint your kitchen cabinets like a pro! Keep reading for our top tips of how to get a professional level paint job on your kitchen cabinets.
1. Prep your cabinets for painting
Before getting started, you may want to remove anything from the kitchen that will potentially get in the way. If you’re not painting the inside of your cabinets, feel free to leave the contents in there - as long as you have enough space to work with so you won’t end up painting your frypan handles! This can also be a great time to get rid of anything you come across that's expired or you don't use anymore.
After the kitchen has been decluttered, it's time to properly prepare the surfaces that will be painted. This includes removing all of the hardware (knobs, handles, hinges, etc.), cleaning and degreasing the cabinets, and filling in any holes.
Warning: If you skip this step, you will end up with an uneven paint job that won't last as long.
Put a label on it
When removing the hardware, keep all the pieces together in individualized sandwich baggies. Use blue painter's tape and a sharpie to label the bags, with a matching label inside their corresponding cabinet, as well as on the door/drawer so you know what goes where when it's time to reassemble everything later.
Put all your labeled doors and drawers out of the way - we'll get to those in a bit.
Strip it down
If the cabinets have already been painted and they're in bad shape, you'll need to strip off the old paint before repainting. This can be a time-consuming and messy process, but absolutely necessary so the new paint will have a smooth surface to adhere to. Read the instructions of the paint stripper, and be sure to work in a well-ventilated area.
Scrub away the crud
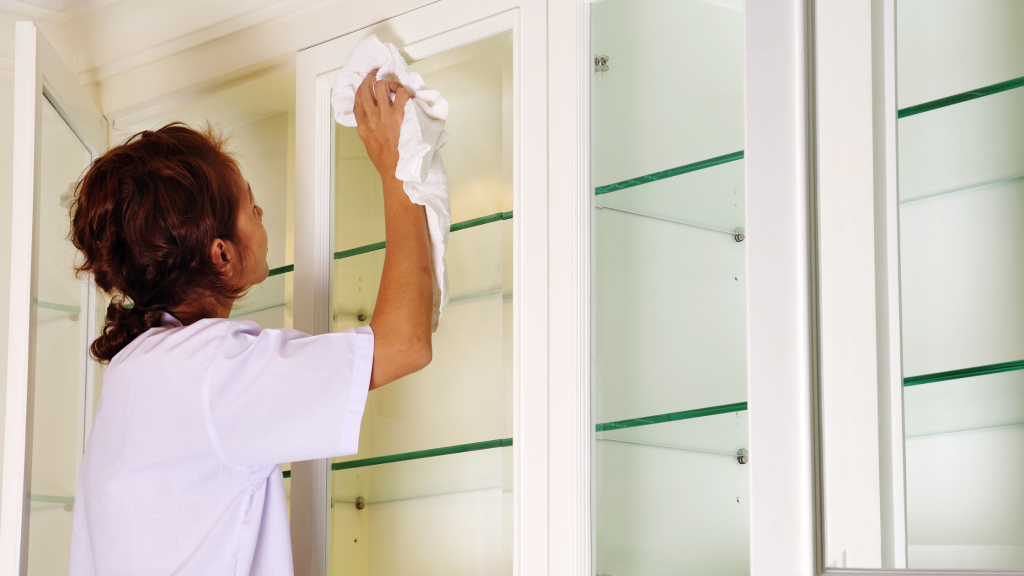
To clean your cabinets, we recommend using the red bottle of Krud Kutter and a scouring pad. You'll want to wear gloves, as the gunk that will come up can get pretty nasty! After you've scrubbed, wipe the surface clean with a damp cloth, and be sure to get into the corners really well so no dirt is left behind.
Overcoming imperfections
If you discover any dings or other blemishes, you'll want to fill those in so they don't show through the paint. You can use a flexible putty knife to apply wood filler (we use Bondo) to any holes. Let the filler dry completely before sanding it down so it's smooth with the rest of the surface. The directions will tell you how long it takes the product to properly set.
Supply Checklist
Screwdriver, sandwich baggies, sharpie, blue painter’s tape, paint stripper (optional), Krud Kutter (red bottle), scouring pad, gloves, rag/cloth, Bondo wood filler, flexible putty knife.
2. Sand down the surfaces you're going to paint
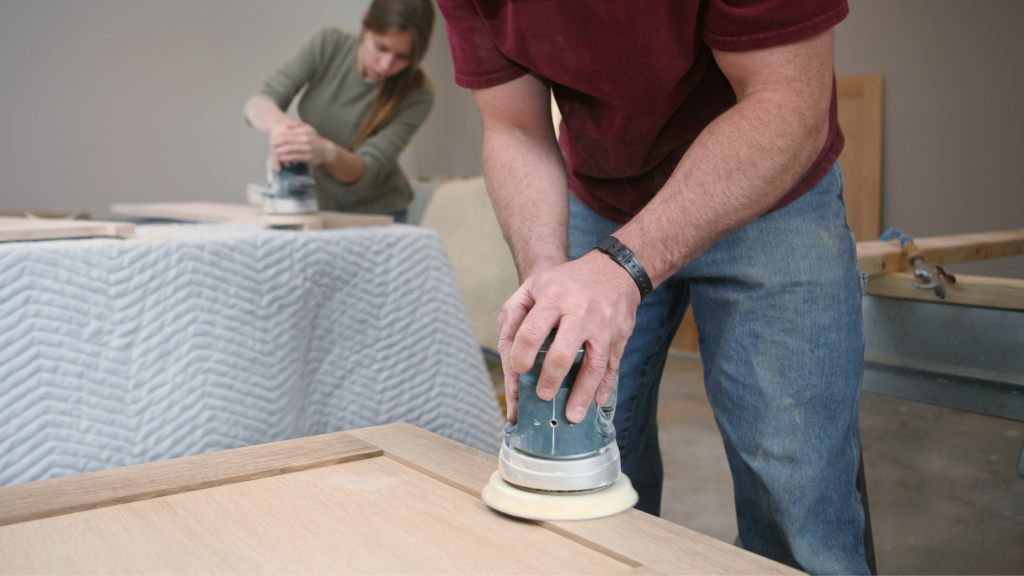
Once the cabinets are clean and repaired, the next step is to sand them down. It may seem counterintuitive to scuff up the surface, but this will actually help the paint to adhere better and provide a more even finish in the end.
Rough around the edges
Use a medium-to-fine grit sandpaper or a sanding sponge to get through the top layer of finish, sanding in the same direction as the grain of the wood. Do this on the cabinet framing, front and back of all cabinet doors, the front of the drawers, and the laminate sides of the cabinets. Be sure to get the corners and edges, too! You can also use an orbital sander to make the job go faster.
Wipe away the dust
After sanding, use the hand attachment on your vacuum to quickly remove all the sanding dust. Then go over everything with a tack cloth or clean microfiber rags to make sure it's completely clean before painting.
Supply Checklist
Medium-to-fine grit sandpaper or sanding sponge, orbital sander (optional), vacuum hand attachment (optional), tack cloth or microfiber rags.
3. Protect your cabinets and surfaces from paint spillage
Now that your cabinets are prepped and ready to go, you'll want to protect the rest of your kitchen from any potential painting mishaps.
Coming unscrewed
Remove any light fixtures and outlet covers that are in the way, being sure to keep track of all the little screws.
Cover up
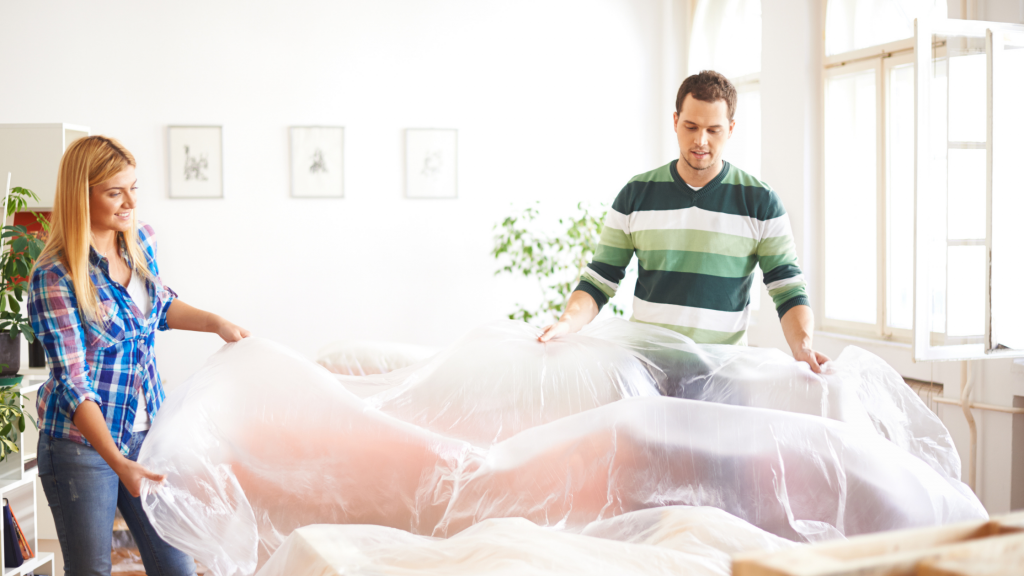
Cover the countertops, backsplash, and floor with drop cloths or plastic sheeting. Use blue painter's tape to trace around the soffit (that little lip of wall around your cabinets). Basically, tape off anything you don't want to accidentally get paint on!
Supply Checklist
Screwdriver, sandwich baggies (for screws), drop cloths or plastic sheeting, blue painter’s tape.
4. Paint all surfaces with 1-2 coats of primer
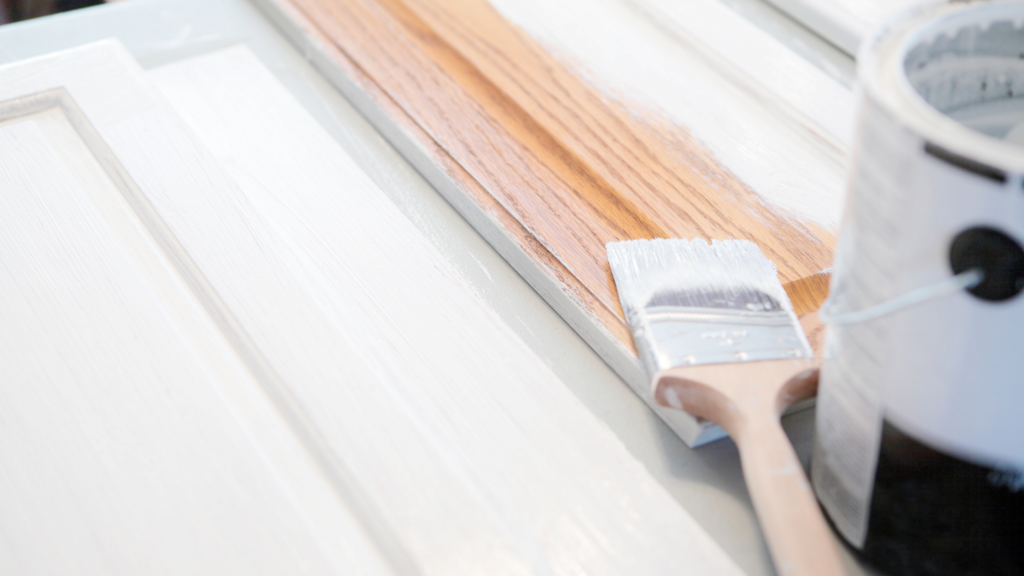
Although it may be tempting to get straight to painting your chosen color, priming is absolutely essential and shouldn't be skipped. Primer helps the paint adhere better, provides a smooth surface for painting, and prevents the paint from peeling or chipping down the road. Plus, it gives you an extra layer of protection against stains and water damage.
Just like the pros
We recommend using Benjamin Moore Stix High Adhesion primer or Sherwin-Williams Extreme Bond primer. This stuff is amazing and will make the finished result look and feel professional.
Prime time
Using a high-quality 2" brush, start by painting the primer on the frames. The 2" brush also works great to carefully paint under the countertop, around outlets, and above shoe molding.
Use a mini foam roller or mohair/velour roller naps for larger areas, like on the island and on the cabinet sides. Use a "W" motion in the direction of the grain for the best coverage. Smooth out any ridges left behind by using light pressure with a dry roller.
Depending on the difference between your starting color and your end color, you may need a second coat of primer to help ensure the starting color doesn't show through. Make sure to let the first coat dry completely before moving on.
If you opt for a second coat, sand down the surface with a fine grit sandpaper or scotch brite pad, careful not to sand through on the edges. Clean up any excess dust just like during the prep stage, and then apply the second coat of primer.
Pro Tip: it's always better to do 2 light coats instead of 1 thick coat.
What's on the inside counts
If the inside of your cabinets are in good shape, you don't need to paint them. But if you do choose to paint the insides, start at the back and work your way forward, saving the shelves for last.
Doors and drawers
Your doors and drawers receive the same treatment as the cabinets - clean, sand, and repairs - and then it's time to get them primed!
Cover your work surface with a drop cloth or plastic, and use painting tripods to keep the cabinet doors elevated slightly above the surface. This will help you get to the edges easier and with a bit less mess.
Starting on the backside of the door, use a 2" brush and start on the edges, working with the grain of the wood. Get into all the corners and crevices, being mindful not to lay the primer on too thick. Then, use a small foam roller to coat the larger surface area of the cabinet doors in the same "W" motion as before.
Wait for the back to dry completely before flipping it over and priming the front side.
When painting the drawers, don't paint the sides of the drawer, as this added layer of paint could interfere with the fit and make opening and closing the drawer challenging. Just like the cabinet doors, start on the edges, prime the back, and let it dry completely before doing the front of the drawer last.
If doing a second coat of primer (recommended), let the first coat dry, give it a light sand, wipe clean, then apply the second coat.
Rough start
If you notice any clumps or lumps after the primer has dried, give it a light sanding to smooth things over. Then a quick wipe down to remove the dust.
Supply Checklist
Benjamin Moore Stix High Adhesion primer or Sherwin-Williams Extreme Bond primer, 2” brush, mini foam roller or mohair/velour roller naps, paint tray + liner, paint stick (to stir primer), painting tripods, sandpaper or scotch brite pad (if doing 2 coats), tack cloth or microfiber rags (if doing 2 coats).
5. Paint and top coat
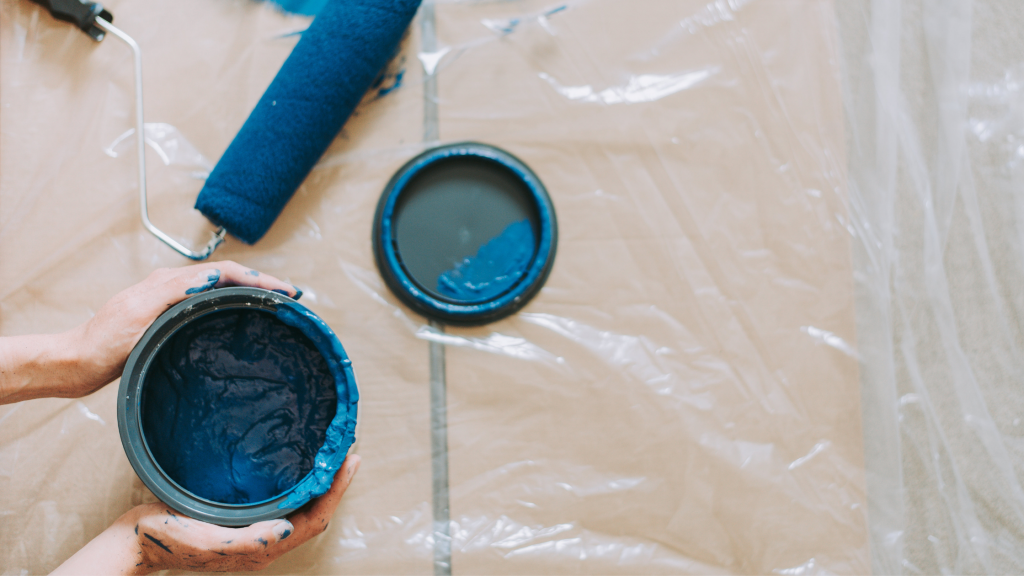
Selecting the right paint is essential for getting great results with your kitchen cabinet painting project. Not all paints are created equal, and using the wrong kind of paint could lead to chipping, peeling, or even worse - a complete paint job do-over.
Pick your partner
Choose a paint that's compatible with your chosen primer. Use Benjamin Moore Cabinet Coat if you went with Benjamin Moore Stix High Adhesion primer. Alternatively, use Sherwin-Williams Emerald Urethane if you used Sherwin-Williams Extreme Bond primer.
Strong finish
In the kitchen, it's always best to use a semi-gloss or satin finish. These will be easier to clean and they can stand the heat of the kitchen! Skip high-gloss and flat finishes, as these will draw attention to imperfections and are harder to clean.
Get it on
Using the same method as priming, start on the edges and details with the 2" brush, then get to the larger areas with the roller. Remember to go with the grain, and to use light pressure when rolling out the paint to avoid leaving brush strokes.
Let the first coat of paint dry completely, lightly sand, wipe clean, and then apply a 2nd coat for a beautiful, even finish.
Reminder: Let the paint cure completely before putting your kitchen back together! To give your newly refinished kitchen the best chance of a long lifespan without chips and peels (the paint kind, not the edible kind), give it 48 hours to breathe.
Supply Checklist
Benjamin Moore Cabinet Coat or Sherwin-Williams Emerald Urethane, 2” brush, mini foam roller or mohair/velour roller naps, paint tray + liner, paint stick (to stir paint), painting tripods, sandpaper or scotch brite pad, tack cloth or microfiber rags.
6. Add new hardware (optional)
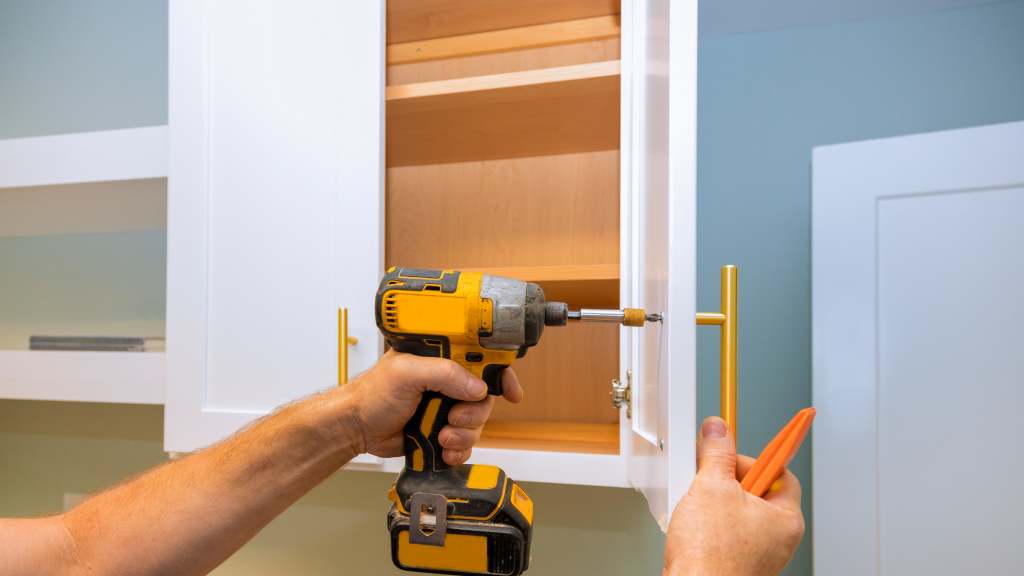
After the paint has dried completely, you can optionally add new hardware to your cabinets. This is a relatively inexpensive update that can completely transform the look and feel of your kitchen.
Get a handle on things
When shopping for new hardware, take your old one with you to the store and try to match the screw pattern. If you choose something that's a different size, you'll need to fill the old hole(s) and drill new ones so the replacement hardware will fit.
Stick with the classics
If you choose not to opt for new hardware, give your old set a good cleaning and even a coat of paint for a fresh look.
Supply Checklist
New hardware (handles, knobs, hinges, slides, etc.), screwdriver, wood filler (optional), drill (optional), cleaner, paint.
Final Thoughts
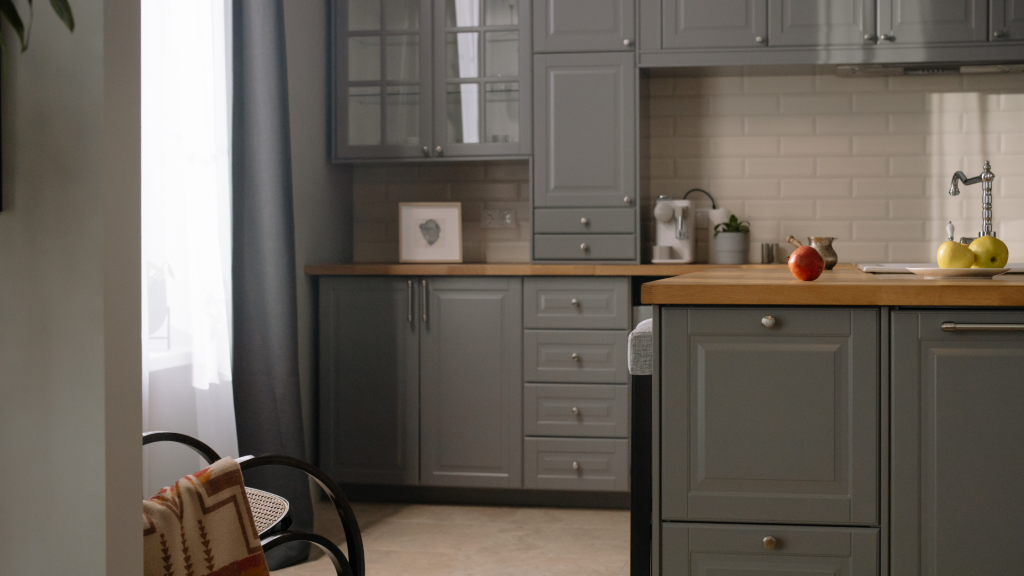
Now that you know how to paint kitchen cabinets like a pro, it's time to get started on your own project! We've walked you through the entire process, from prepping to painting. All that's left to do is get started and enjoy your brand new kitchen!
Still feeling uneasy about painting your kitchen? We're here to help! Call us today for a free quote and let us make your dream kitchen into a reality.
